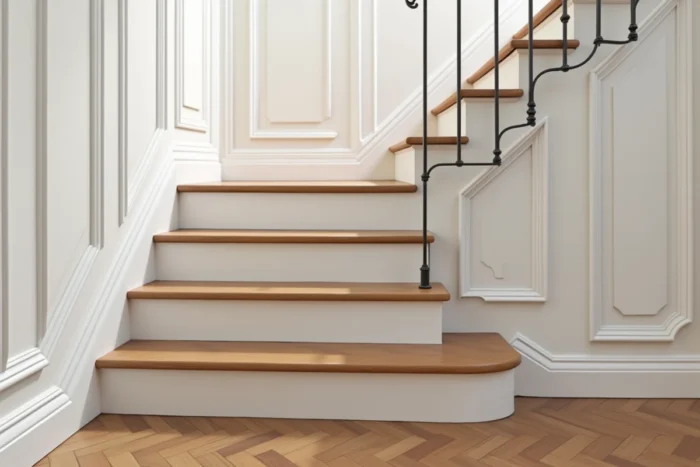
A raw concrete staircase from the 80s, oak steps creaking under each footstep, cracked tiles on the risers: one rarely starts with a blank slate when deciding to dress a staircase. The existing support dictates almost everything, from the material to the method of attachment. Successfully dressing a staircase first means accepting to work with the flaws of the existing structure, rather than hastily covering them up.
Irregularities of the support: the true starting point for dressing a staircase
Field feedback converges on one point: the most common mistake is not the wrong choice of covering, but a hasty measurement. An old staircase almost always has variations in height and depth between the steps. Sometimes there are several millimeters of difference from one step to another, which is enough to render a standard dressing kit unusable.
Before ordering anything, each step is measured individually (height, depth, width) and discrepancies are noted. A cardboard template cut for each step helps identify areas where the support is not level. On a concrete staircase, bumps and dips are corrected with leveling compound. On wood, sanding and resetting unstable steps before installation prevents future lifting.
This diagnostic phase takes time, but it is what separates a dressing that lasts ten years from a covering that warps after six months. One can rely on the recommendations from Conseil Habitat to structure this preparatory step.

Choice of covering material: wood, laminate, or tiles depending on use
The material is not chosen from a catalog. It is selected based on three concrete constraints: the type of support, the level of traffic, and the available renovation budget.
Solid and engineered wood
Wood remains the reference material for indoor staircase dressing. Engineered oak offers a good compromise between dimensional stability and aesthetic appeal. On a concrete support, the steps are glued with a flexible polymer sealant that absorbs the micro-movements of the structure.
On an old wooden staircase, installation is done through hidden screws or adhesive, provided the support is sound. A step that flexes under weight must be reinforced before any intervention. Wood is unforgiving of flatness defects: a poorly placed shim of a few millimeters creates a hard point that eventually cracks the covering.
High-resistance laminate
Laminate offers a wide range of finishes (concrete, stone, wood imitation) at a lower cost than solid wood. It is advisable to choose references rated at least AC4, designed to withstand heavy traffic. The aluminum or matching PVC stair nose remains the technical piece not to be overlooked: it absorbs daily wear on the edge of each step.
Tiles and porcelain stoneware
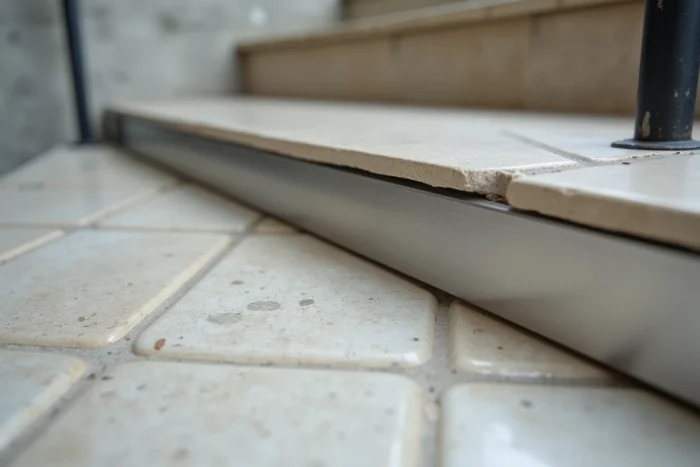
Tiles are well-suited for outdoor stairs or high-traffic entrances. Full-body porcelain stoneware minimizes the risk of chipping upon impact. Installation requires double gluing and precise cuts, especially at the corners of turning steps. Feedback varies on the durability of tiles on stair noses, which remain a point of fragility if the cut is not clean.
Stair nose and safety: the details that change durability
The stair nose bears the majority of the mechanical stresses of a staircase. It is the impact zone for the foot, the friction zone with each descent, and often the first to come loose.
- A brushed aluminum stair nose screws directly into the structure and protects the edge of the covering, regardless of the chosen material
- Soft PVC profiles are suitable for low-traffic stairs but crush under intensive daily use
- Self-adhesive anti-slip strips are an acceptable temporary solution, provided they are replaced as soon as they start to peel (every two to three years on average)
Safety is not limited to the stair nose. On an open staircase or one with an aging guardrail, integrating the upgrading of the guardrail into the dressing project avoids having to dismantle everything six months later. Handrails and guardrails are part of the same project.
Custom staircase dressing: coordinating steps, risers, and finishes
Recent trends show that staircase dressing is no longer thought of as a simple surface covering. More and more projects combine natural wood steps, risers painted in a contrasting tone, and coordinated guardrails to create a coherent graphic ensemble.
This holistic approach requires planning the finishes from the start. A concrete example: installing light oak steps with anthracite gray risers works visually, but the junction between the two materials must be anticipated. A flexible expansion joint between step and riser absorbs the movements of the wood without creating a visible crack.
The choice of finish (matte varnish, oil, sealer) depends on the desired style but also on acceptable maintenance. Natural oil requires regular reapplication, while a sealer lasts longer but gives a smoother, sometimes less warm appearance.
- Matte or satin varnish: good protection, limited maintenance, uniform appearance
- Hard oil: more natural look, raw feel, local renovation possible without sanding the entire staircase
- Paint on risers: allows for strong decorative contrast, provided an abrasion-resistant floor paint is used
A well-executed staircase dressing transforms a passage element into a true piece of interior design. The key remains to treat each step as a unique piece, with its own measurements and surface constraints, rather than applying a standard solution to a structure that is never standard.